This tutorial covers the steps for converting an image to SVG using Inkscape. These instructions are used in classes in BARN’s Metal Fabrication Studio.
1) Install required applications on your computer:
a. Inkscape: https://inkscape.org/download/
b. Autodesk Fusion 360: https://www.autodesk.com/products/fusion-360/free-trial
2) Locate and download a silhouette image of your choosing in JPEG or PNG format. This eventually will be cut on the CNC Plasma Cutter. This should be a relatively simple image when starting out – see examples.


3) Open Inkscape application. On MacOS computers, select New Document to open a canvas.
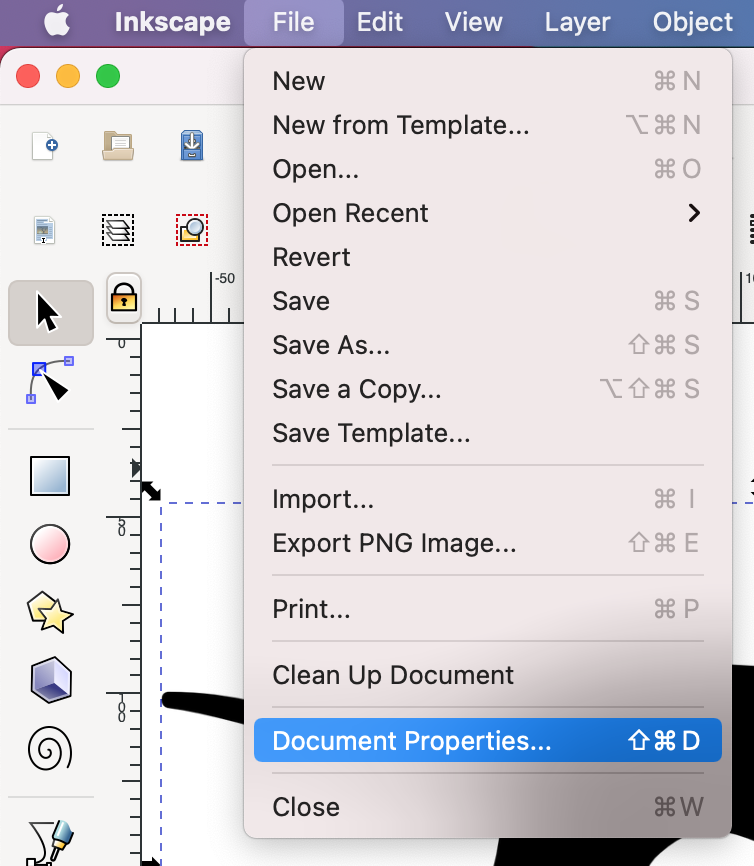
4) Select Document Properties from the File menu.
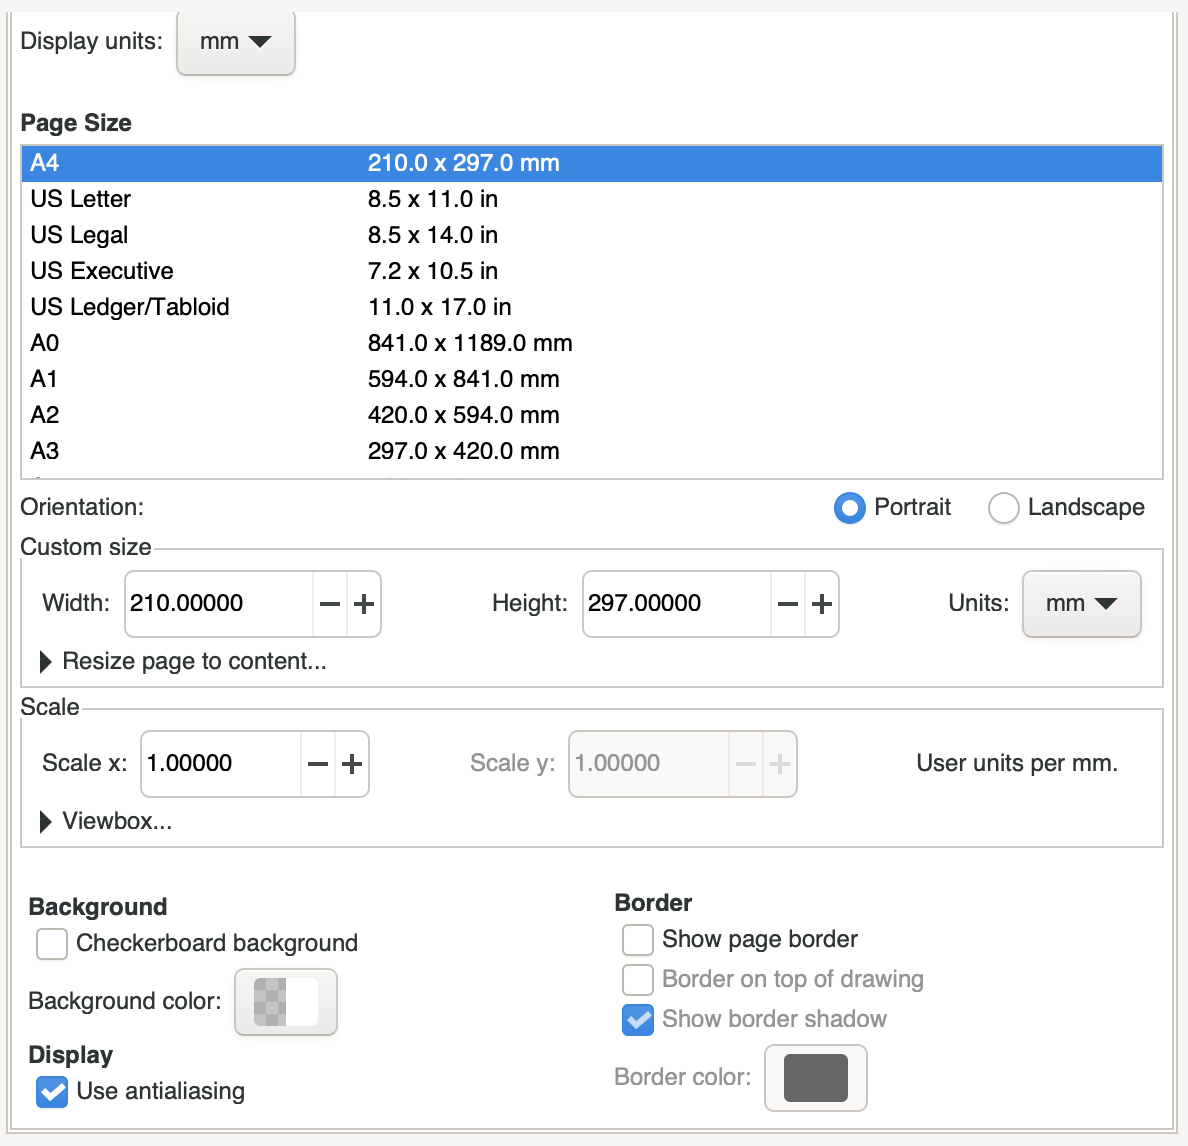
Scroll down in the Document Properties pane and uncheck Show Page Border on the left. The border on the canvas should disappear.
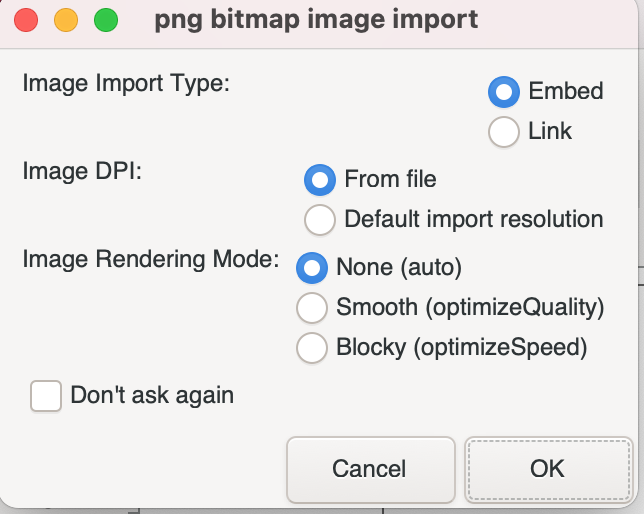
5) Select Import from the File menu and find the image you identified above (if asked for permissions to access a folder, click Accept).
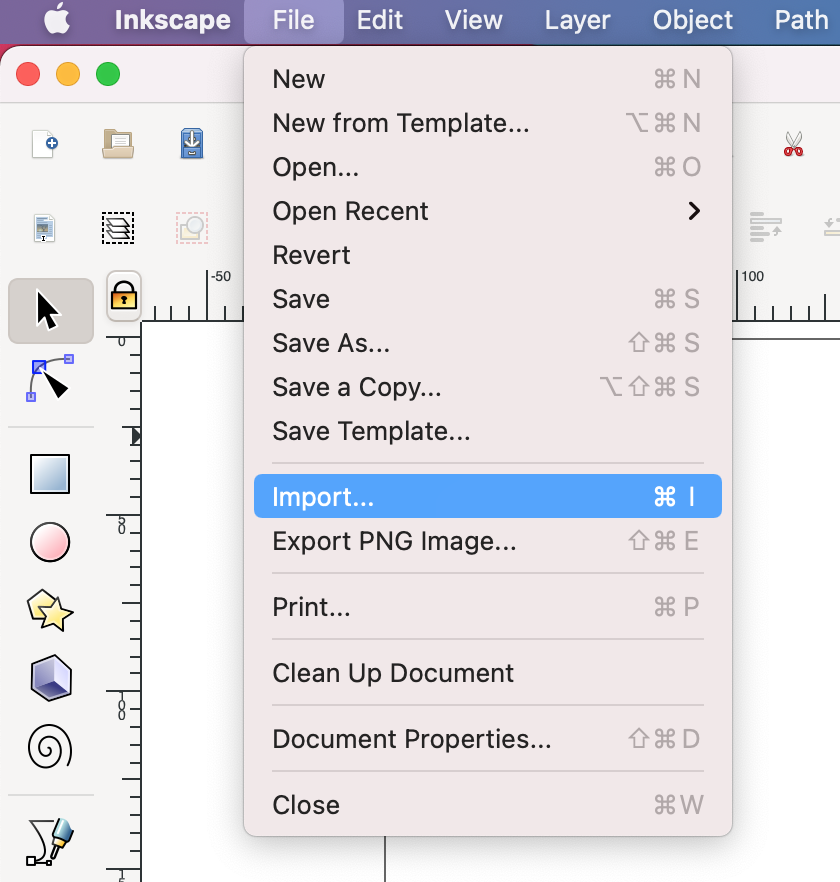
Then click Ok on the png bitmap image import dialog.
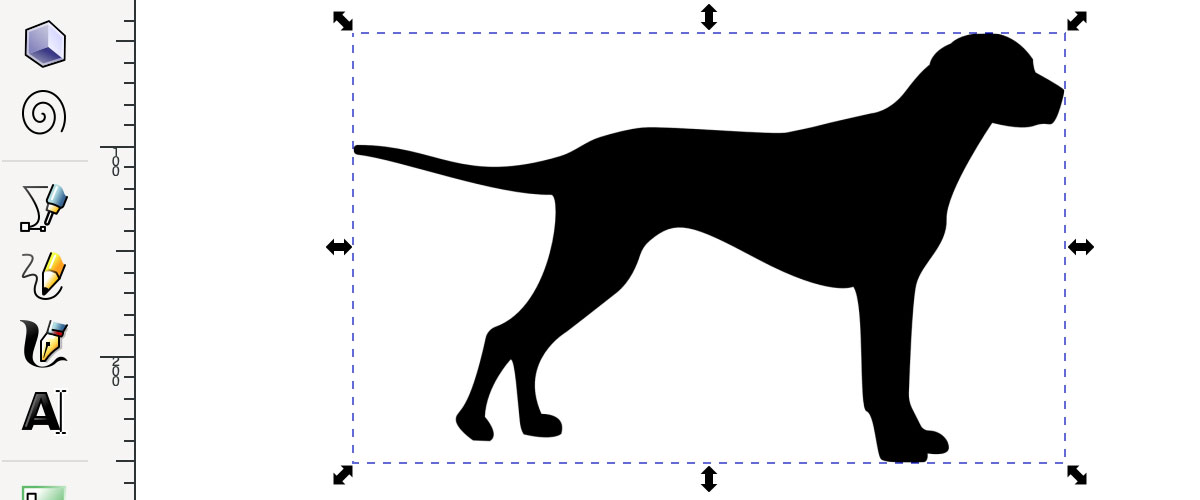
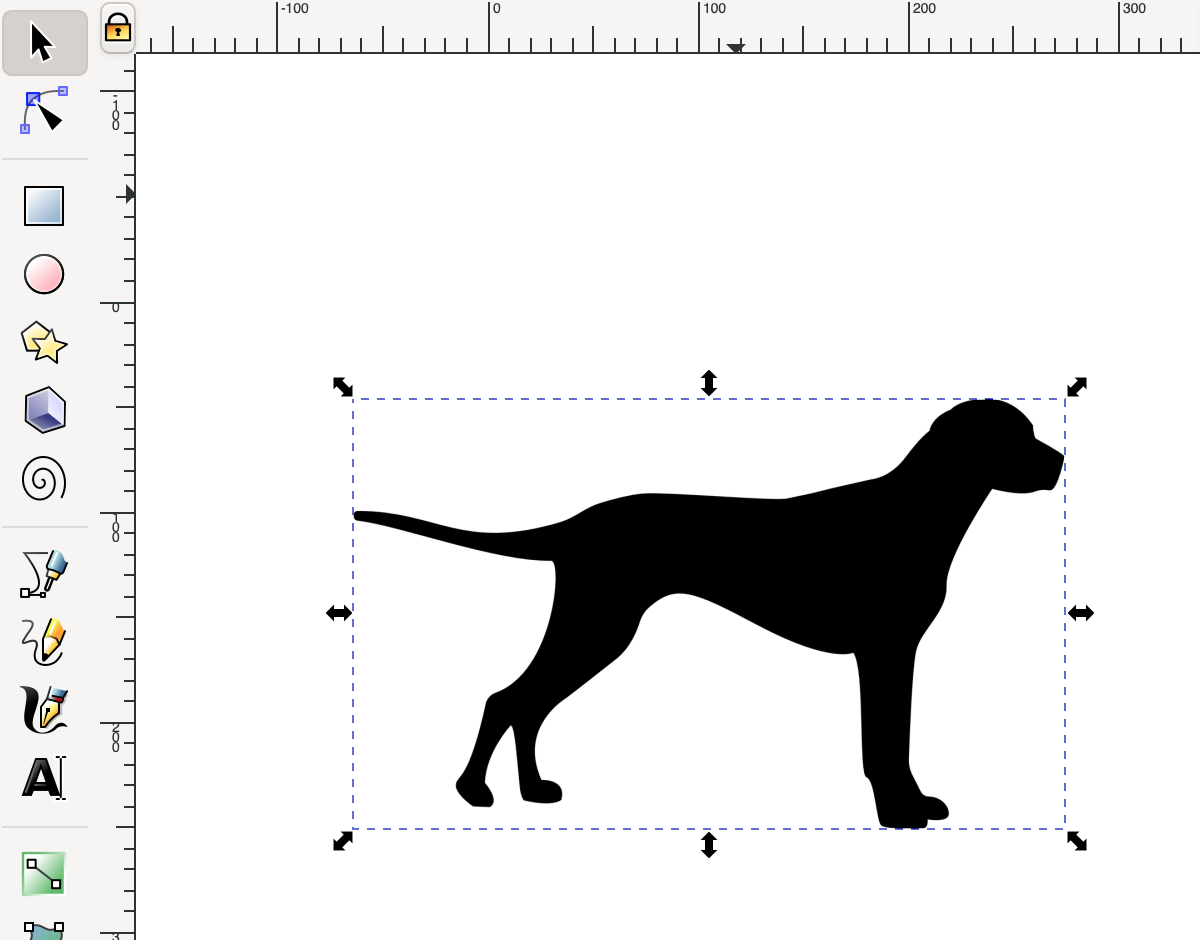
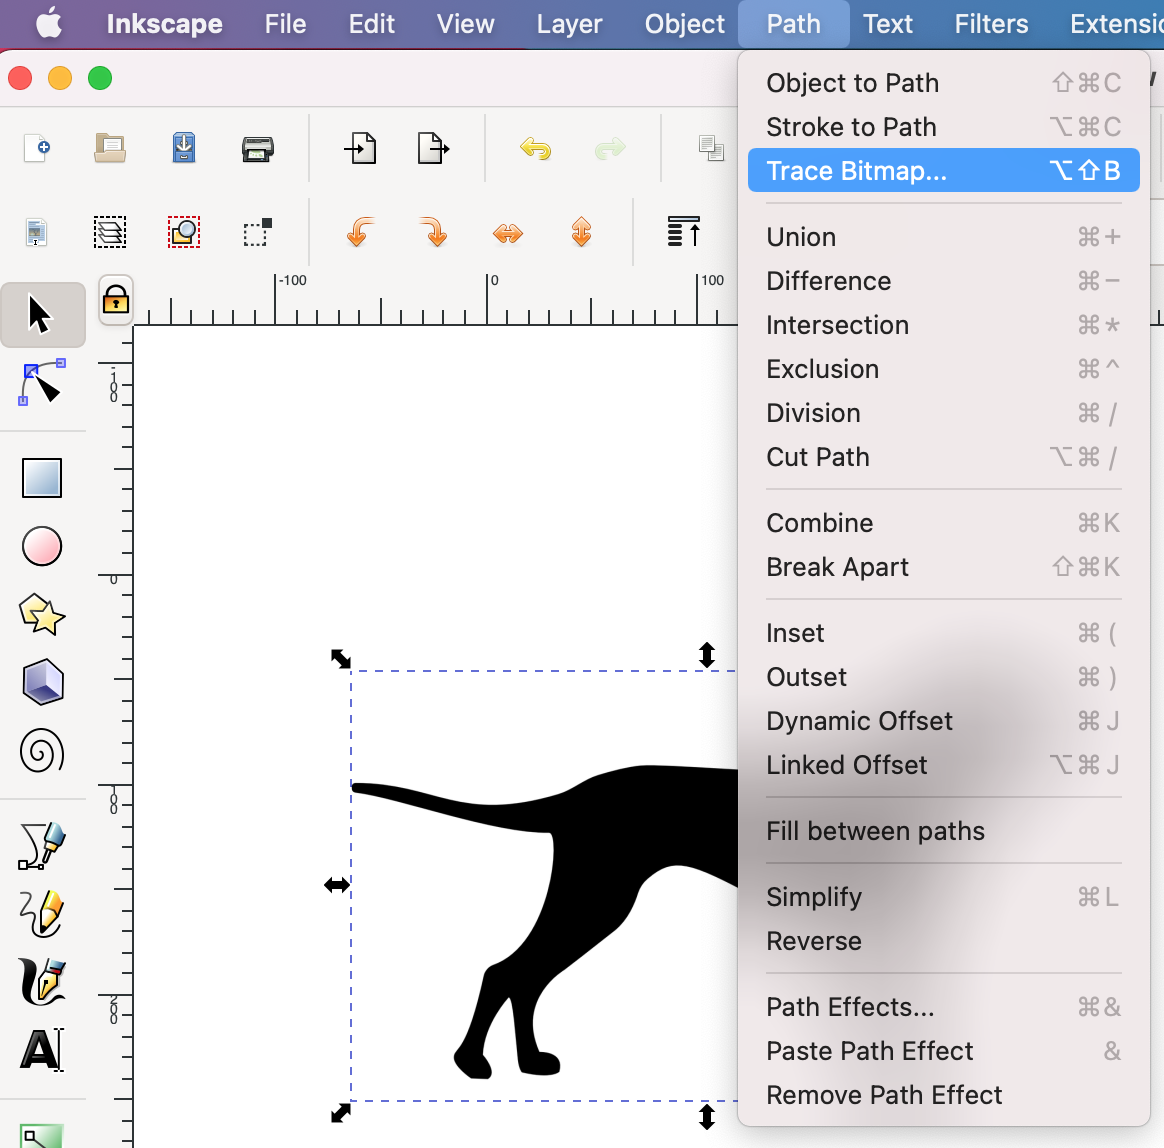
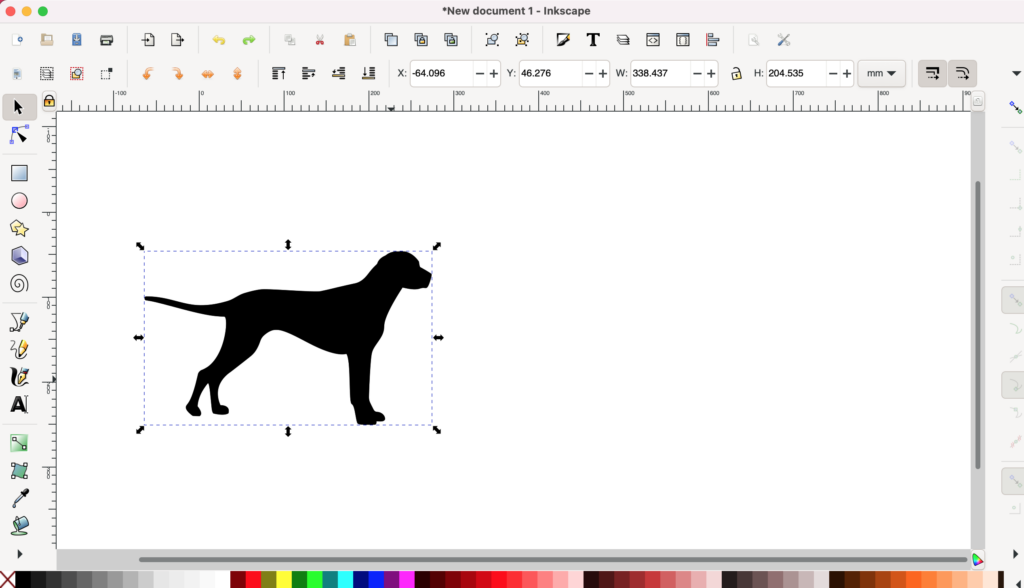
6) With the image selected (dashed line should show up around borders), select Trace Bitmap from the Path menu.
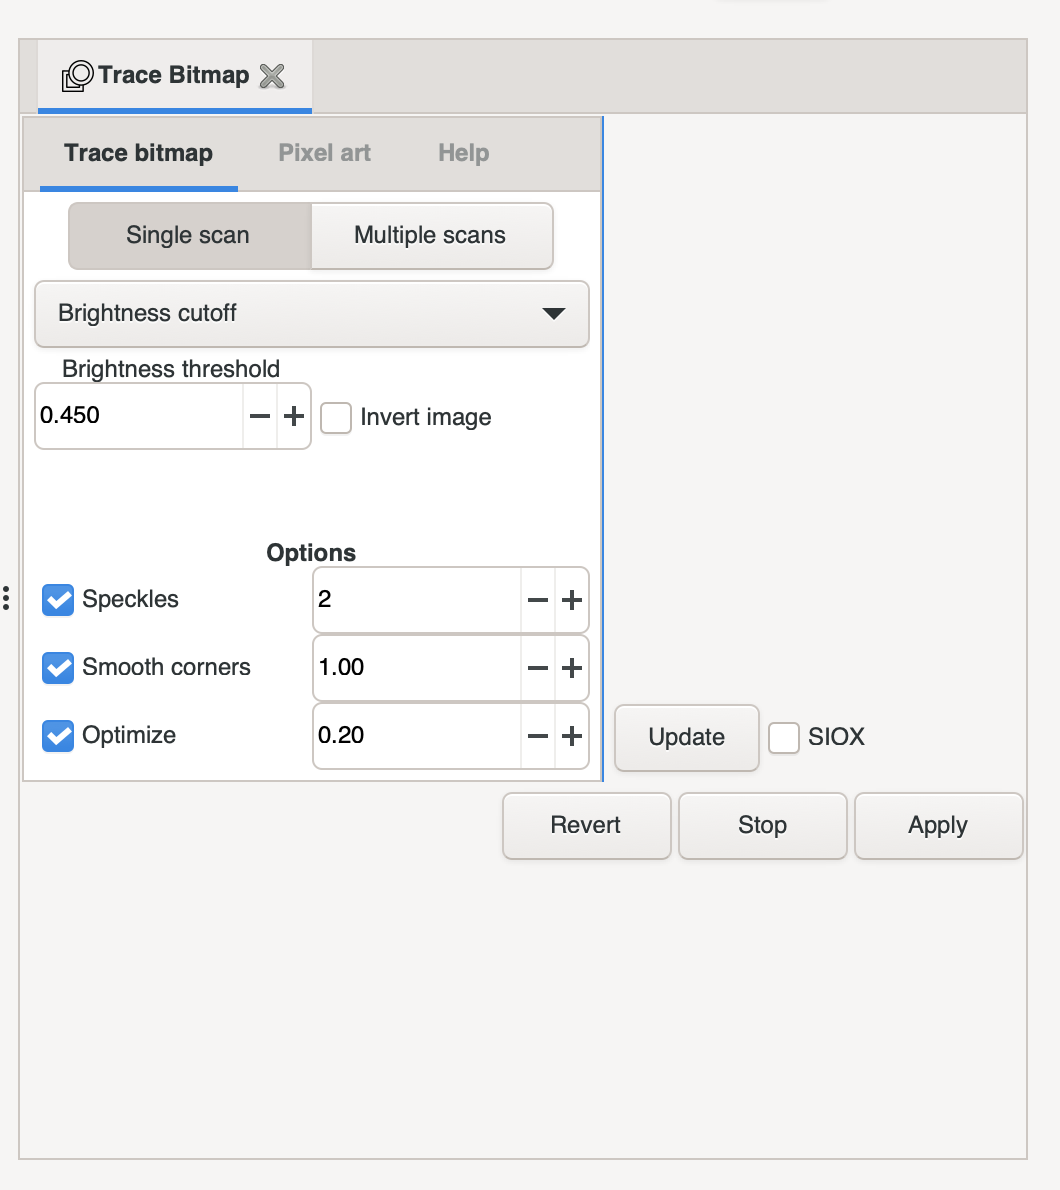
Then select Update in the Trace Bitmap pane. The image should populate above the button. Click Apply (MacOS) or Ok (Windows). Close the pane using the X button at the top (shows up in a tabbed interface on MacOS).
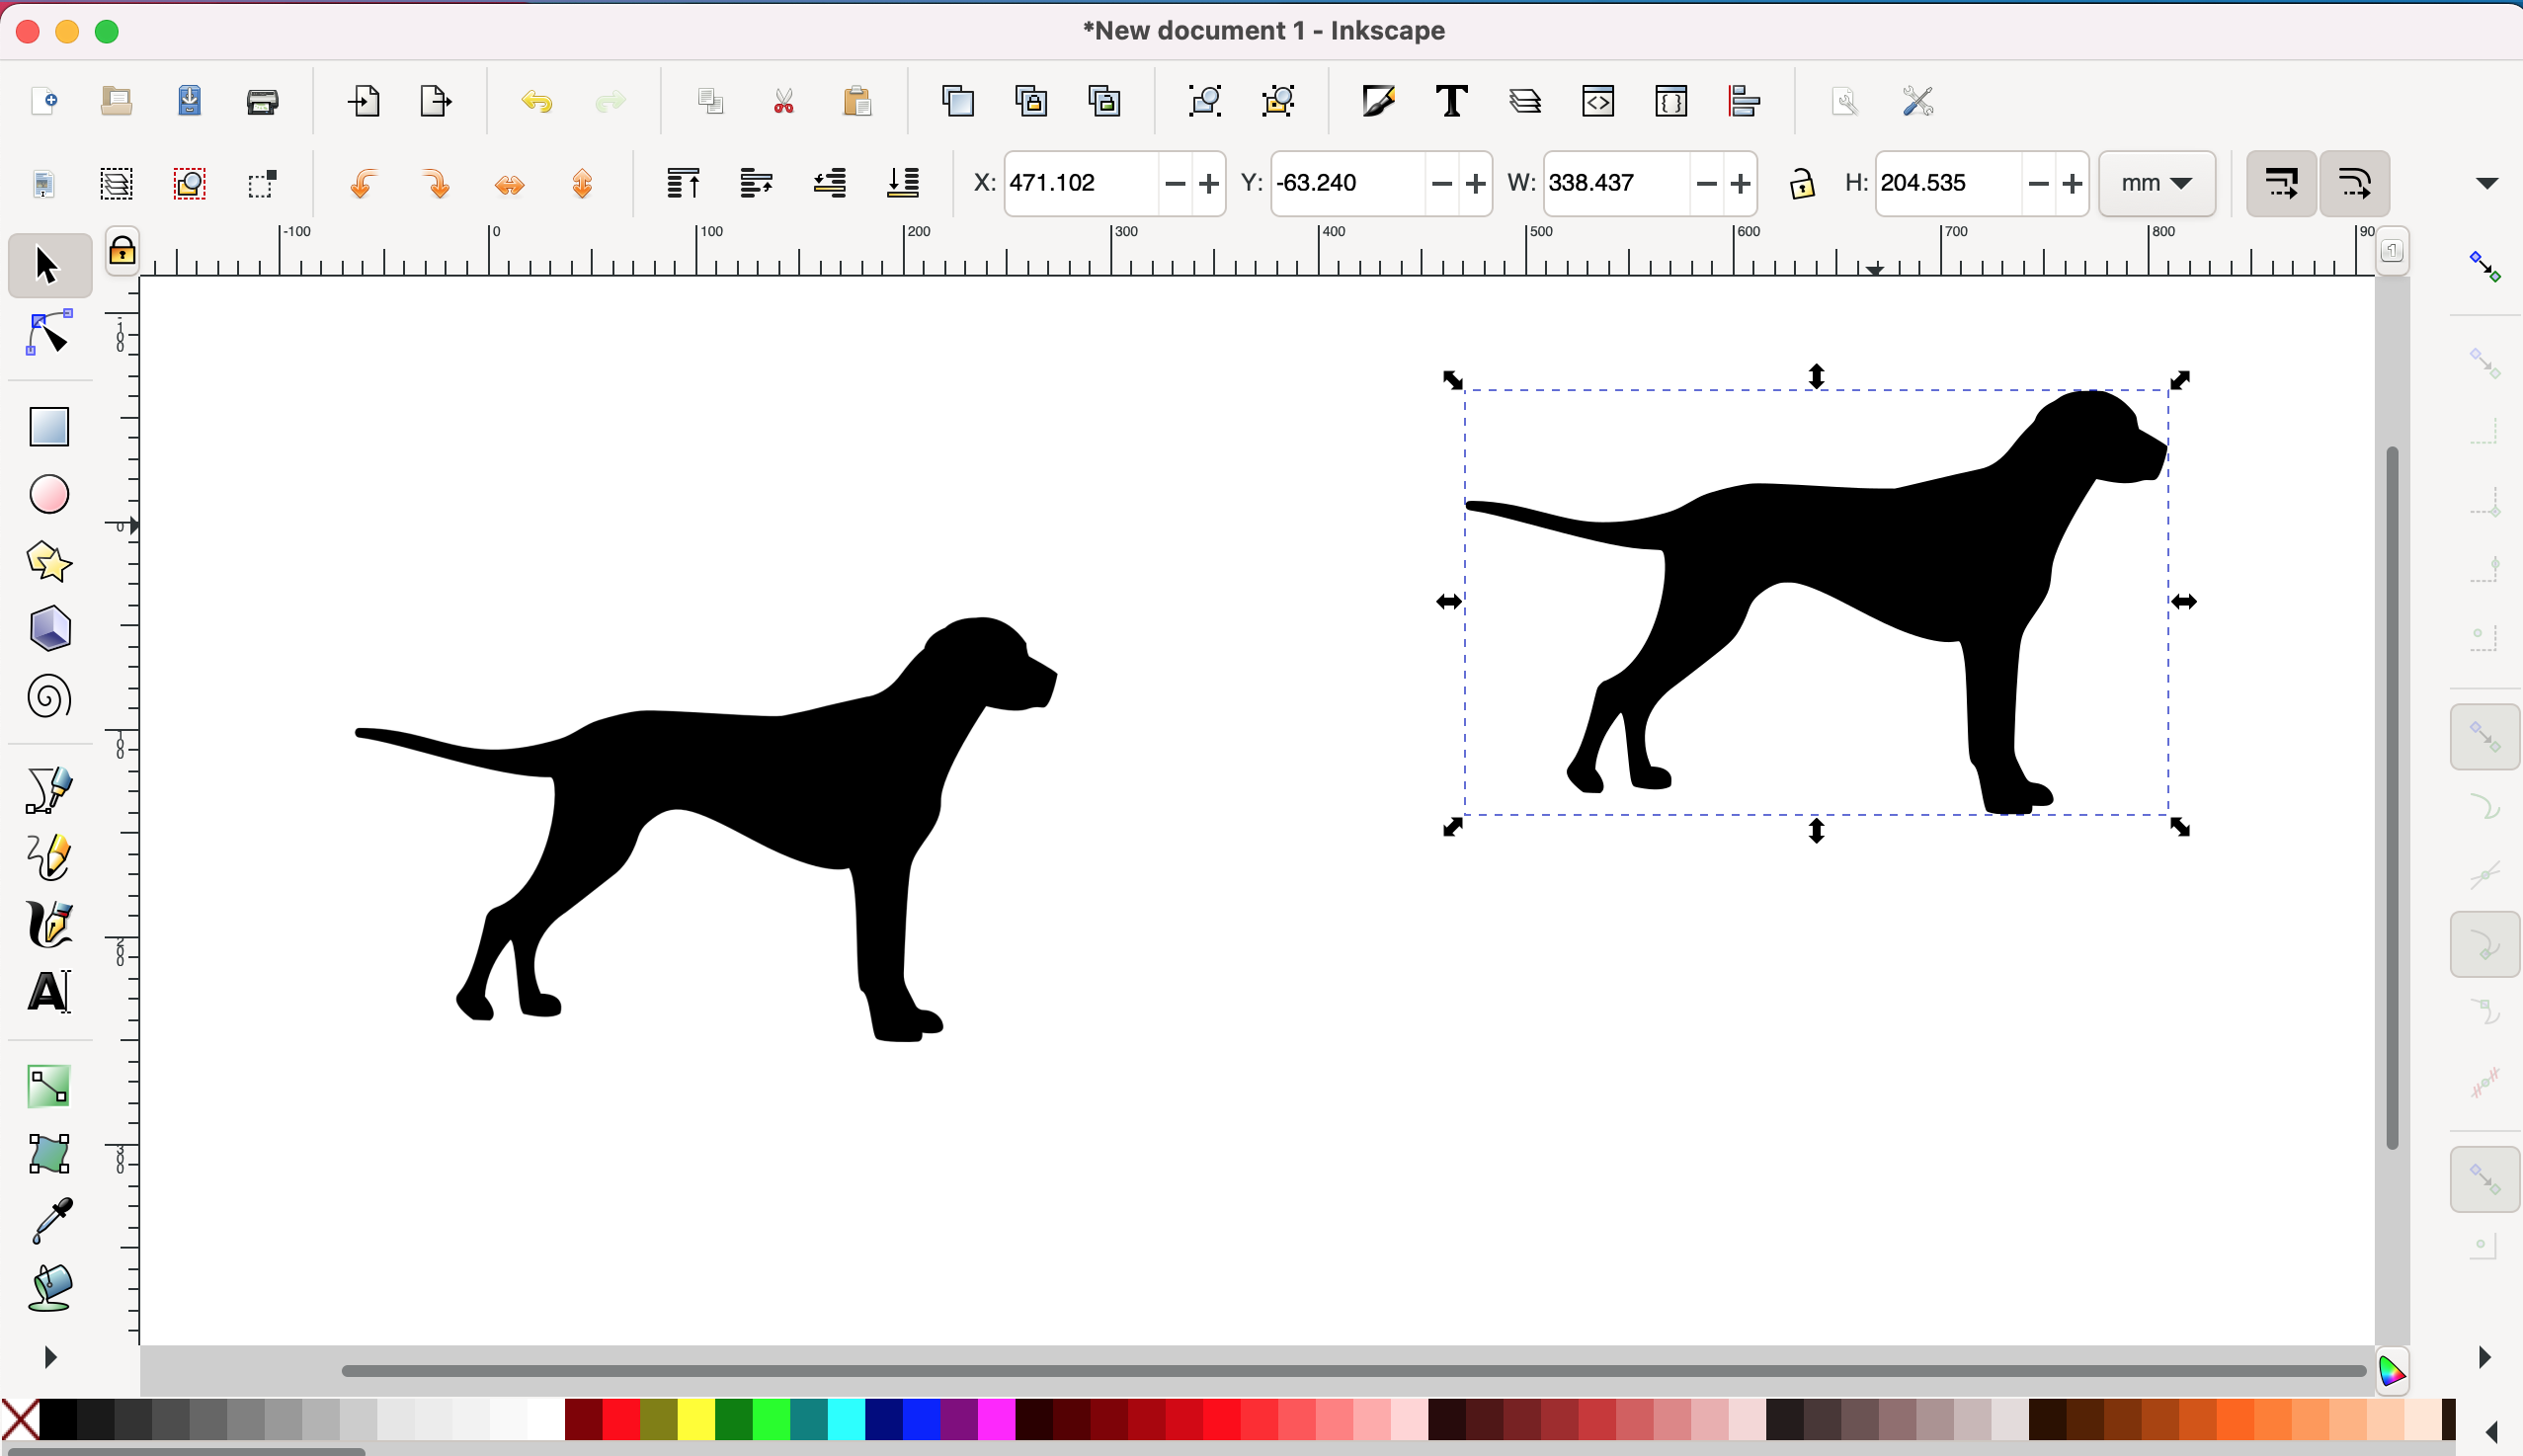
7) The vector image you just created is now directly on top of the original image.
Grab the vector image and move to the side. Click on the original image and press Delete. If you are unsure which image is which, the vector image (which you want to keep) will have a smooth line when you zoom way in on it, whereas the original image (which you want to delete) will show a fuzzy/pixelated line.
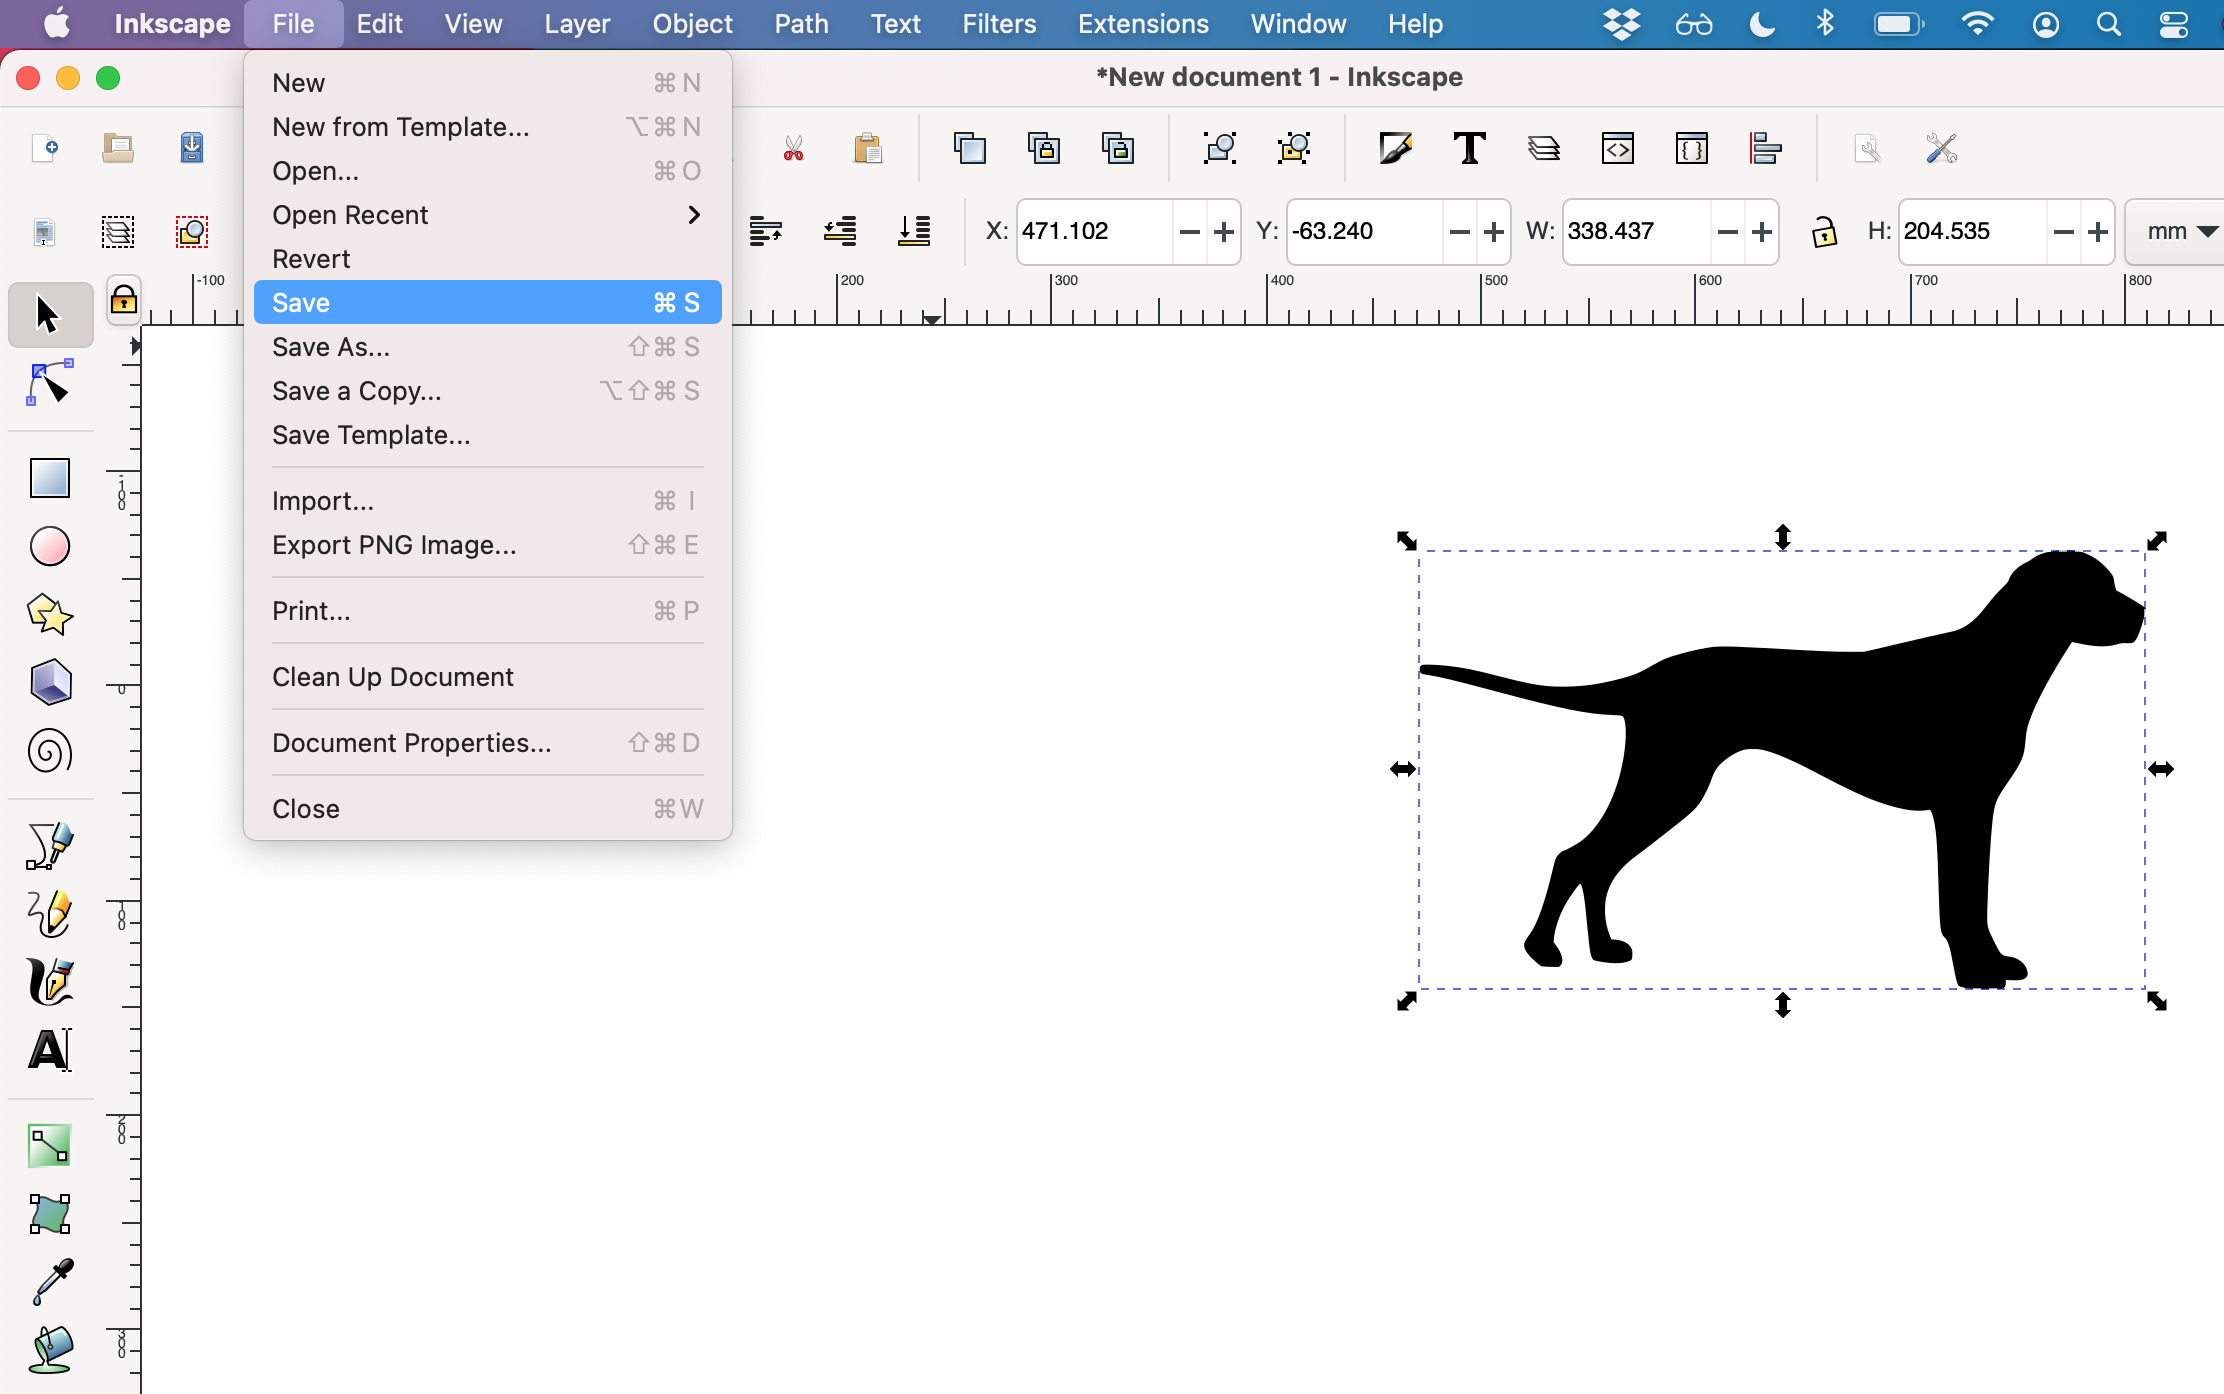
8) Save the image to your computer in SVG format.
9) Open Fusion 360
Follow Us